Tôi vẫn nhớ cái ngày đầu tiên đi làm, bước vào văn phòng là một gã đang múa một cái gì đó mà tôi cứ nghĩ cái công ty này có cả hắc cơ; nhìn rất nghệ nhưng mà tôi không quan tâm. Sublime text của tôi vẫn đỉnh. Nhưng thời gian trôi qua cuối cùng nhờ xem livestream của các thánh code tôi đã nhận ra múa cái đó cũng đơn giản thôi - Cài Neovim là được. Và quá trình khổ d*m của tôi bắt đầu từ đó.
Thời gian đầu dùng neovim khá cực. Nhưng nó làm tôi có cảm giác tôi làm chủ được cái editor của tôi. Mọi tính năng, hotkey, UI… tôi có thể thoải mái tuỳ chỉnh theo ý thích của mình. Thêm nữa là việc sử dụng neovim sẽ giúp chúng ta loại bỏ được khá nhiều thời gian chết khi switch từ bàn phím sang chuột (Trông thế thôi một ngày switch liên tục cũng khá tốn thời gian và mỏi tay).
Terminal tôi sử dụng là Alacritty. Được cái sau khi dùng mới thấy perfomance của iterm2 nó tệ như thế nào. Bị cái là Alacritty không có tabs, k có split pane và 1 vài thứ basic khác, nhưng không sao, chạy được là được. Mọi thứ khác tôi sẽ để tmux lo.
Aukê bắt đầu config. Thì trước hết bạn cần download neovim (nên là stable version). Sau khi cài đặt xong ta được:
➜ **nvim** nvim -v
NVIM v0.8.2
Build type: Release
LuaJIT 2.1.0-beta3
Compiled by brew@Ventura-arm64.local

Features: +acl +iconv +tui
See ":help feature-compile"

   system vimrc file: "$VIM/sysinit.vim"
  fall-back for $VIM: "/opt/homebrew/Cellar/neovim/0.8.2/share/nvim"

Run :checkhealth for more info
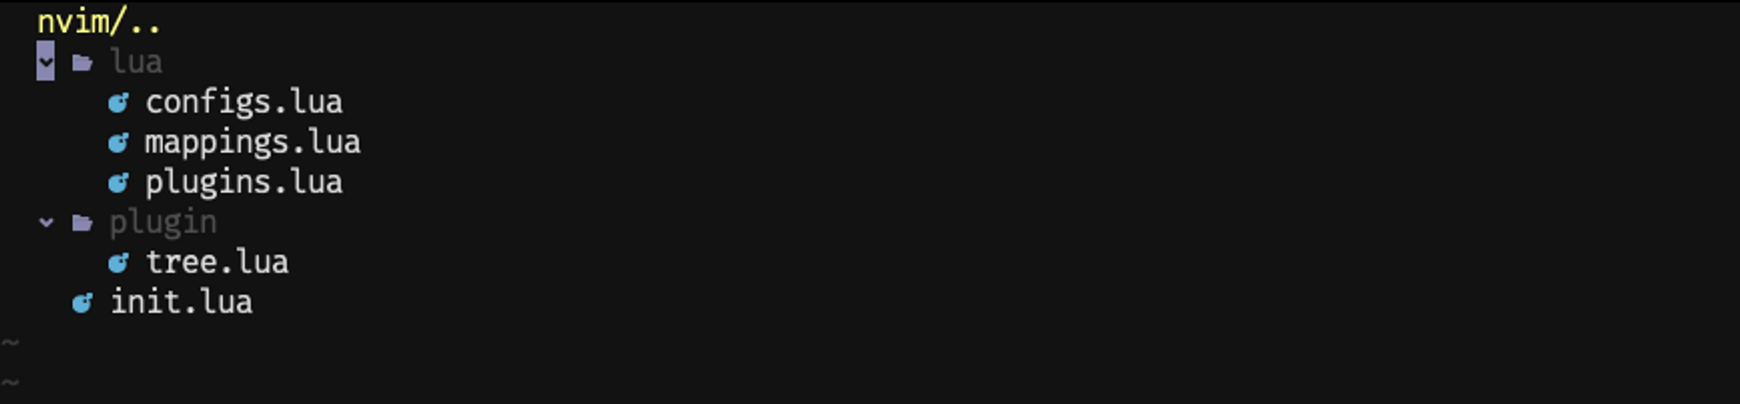
Folder structure
Trước hết bạn tạo thư mục ~/.config/nvim và mọi config của bạn đều đặt trong thư mục này.
➜ **nvim** tree .
|
| -- init.lua
| -- lua/
  | -- configs.lua
    | -- mappings.lua
  | -- plugins.lua
| -- plugin/
Import các file trong thư mục /lua từ init.lua:
require('plugins') -- For plugins
require('mappings') -- For key mappings
require('configs') -- For configs
Trong neovim có nhiều package management nhưng ở đây ta sử dụng Packer.
git clone --depth 1 https://github.com/wbthomason/packer.nvim\
 ~/.local/share/nvim/site/pack/packer/start/packer.nvim
Setup cơ bản sẽ như sau:
-- lua/plugins.lua

local success, packer = pcall(require, "packer")
if (not success) then
  print("Packer not found!")
  return
end

vim.cmd([[packadd packer.nvim]])

packer.startup(function(use)
  -- Plugins go here
end)
-- lua/mappings.lua

-- Vim can detect the type of file that is edited
-- Vim's functionality can be extended by adding plugins
vim.cmd('filetype plugin on')

local keymap = vim.keymap
vim.g.mapleader = ' '

-- Jump to the first non-black character of the line
keymap.set('', '<', '^')

-- Jump to the end of the line
keymap.set('', '>', '$')

-- Handle Tab
keymap.set('v', '<Tab>', '>gv')
keymap.set('v', '<S-Tab>', '<gv')
keymap.set('i', '<S-Tab>', '<C-d>')
keymap.set('n', '<S-Tab>', '<<')
keymap.set('n', '<Tab>', '>>')

-- Disable copy when delete
-- By default in viusual mode. 'x' and 'd' boths will remove and copy the content
-- We change a little bit: 'd' for delete only and 'x' for cut
keymap.set('v', 'd', '"_d')
keymap.set('n', 'xx', 'dd')
keymap.set('n', 'dd', '"_dd')
keymap.set('n', 'fw', 'dw')
keymap.set('n', 'dw', '"_dw')

-- Move blocks of code
keymap.set('v', '<leader>k', ":move-2<CR>gv=gv", { silent = true })
keymap.set('v', '<leader>j', ":move'>+<CR>gv=gv", { silent = true })
keymap.set('n', '<leader>k', ":<C-u>move-2<CR>==", { silent = true })
keymap.set('n', '<leader>j', ":<C-u>move+<CR>==", { silent = true })
Ở dòng đầu tiên vim.cmd('filetype plugin on') đã enable 2 tính năng như trong comment. Để xem chi tiết các tính năng này phòng nhiều lúc tôi thiếu comment về tính năng các bạn có thể tự check bằng cách nhấn :help filetype hoặc :help plugin hay :help [anything] để xem bất kì documentation của neovim hay các plugin được cài vô neovim.
Mapleader hay leader key chính là key mà bạn nhấn đầu tiên khi thao tác với shortcuts. Ở đây ta có 2 mappings là space + < để về đầu dòng. space + > để về cuối dòng thay về shift + 4 và shift + ^ . Mình cảm thấy space là thuận tay nhất, các bạn có thể sử dụng phím khác nếu thích.
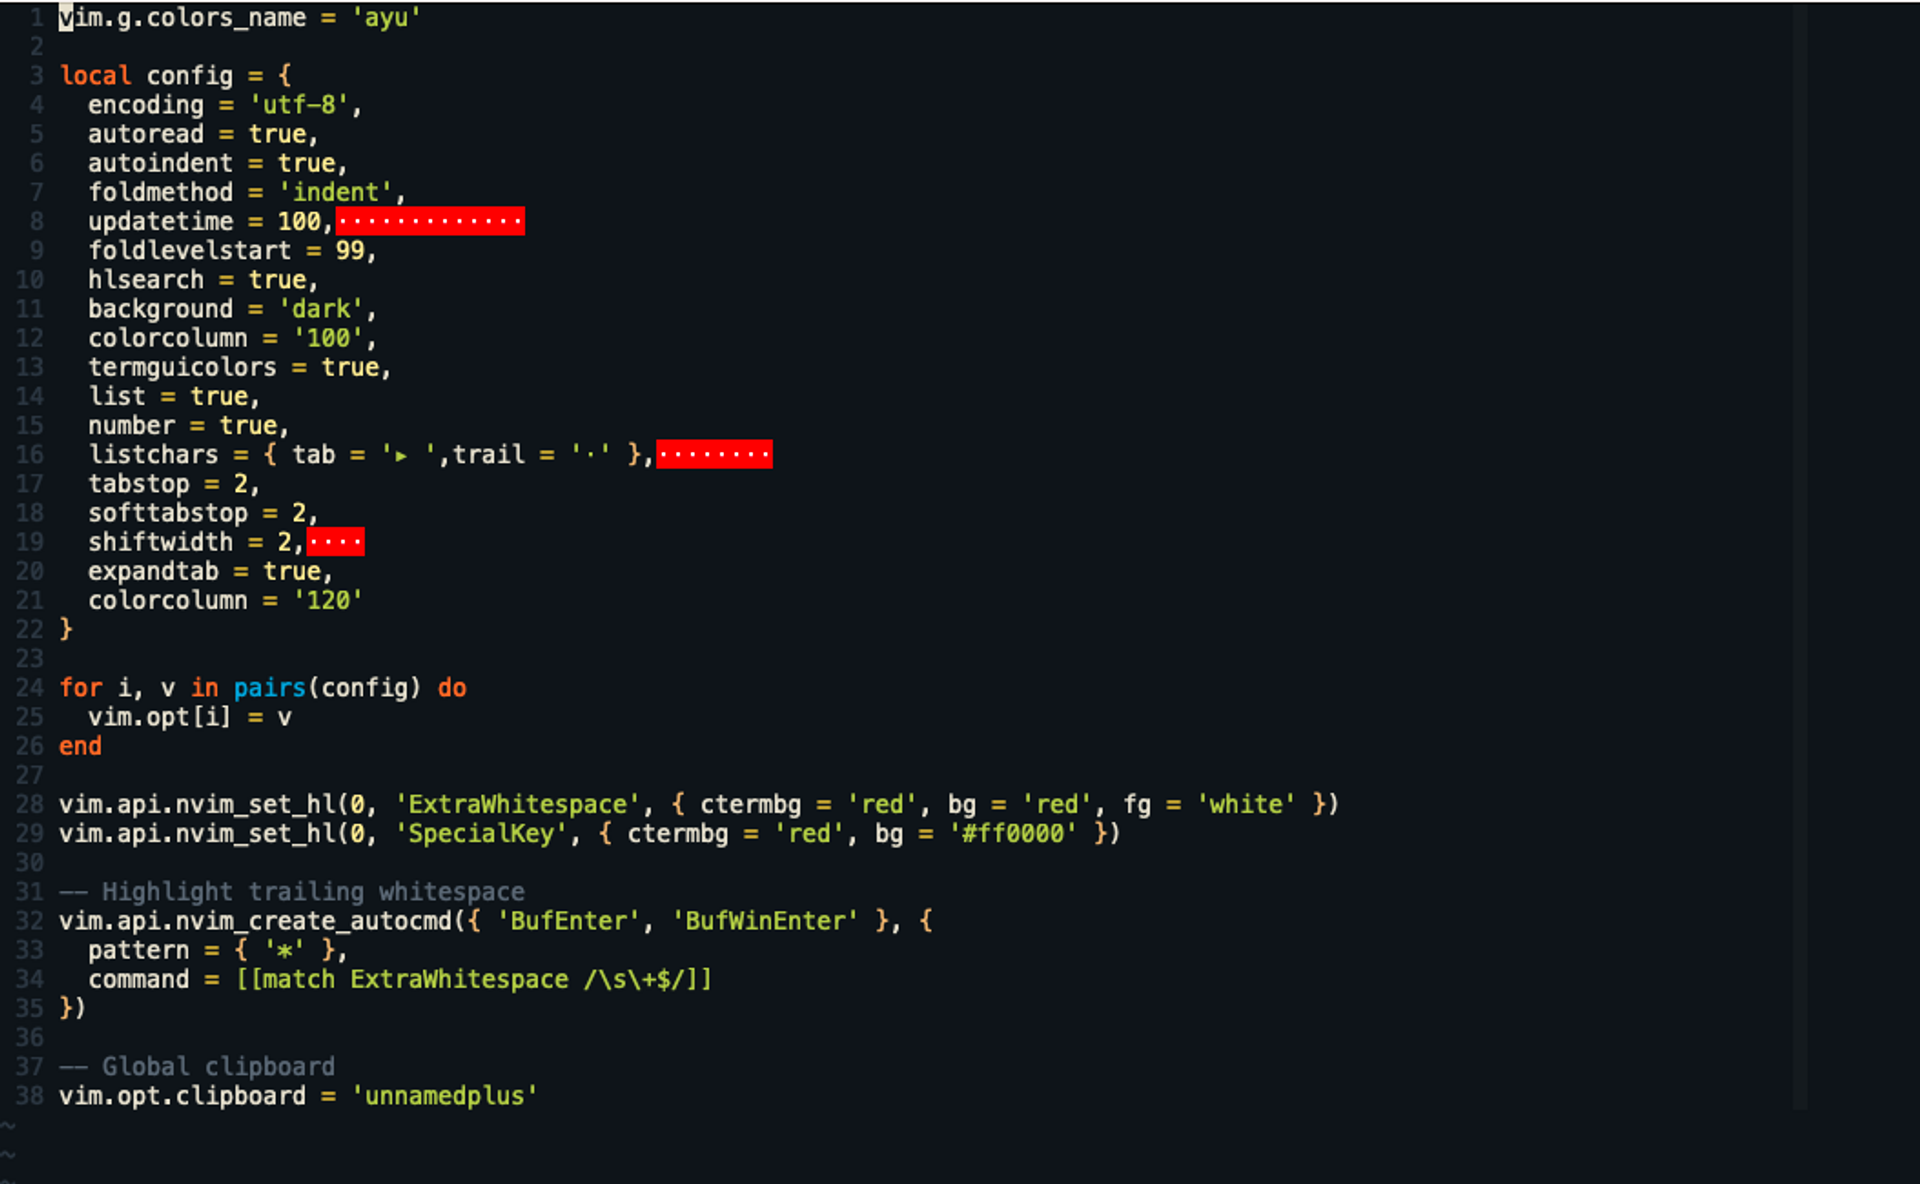
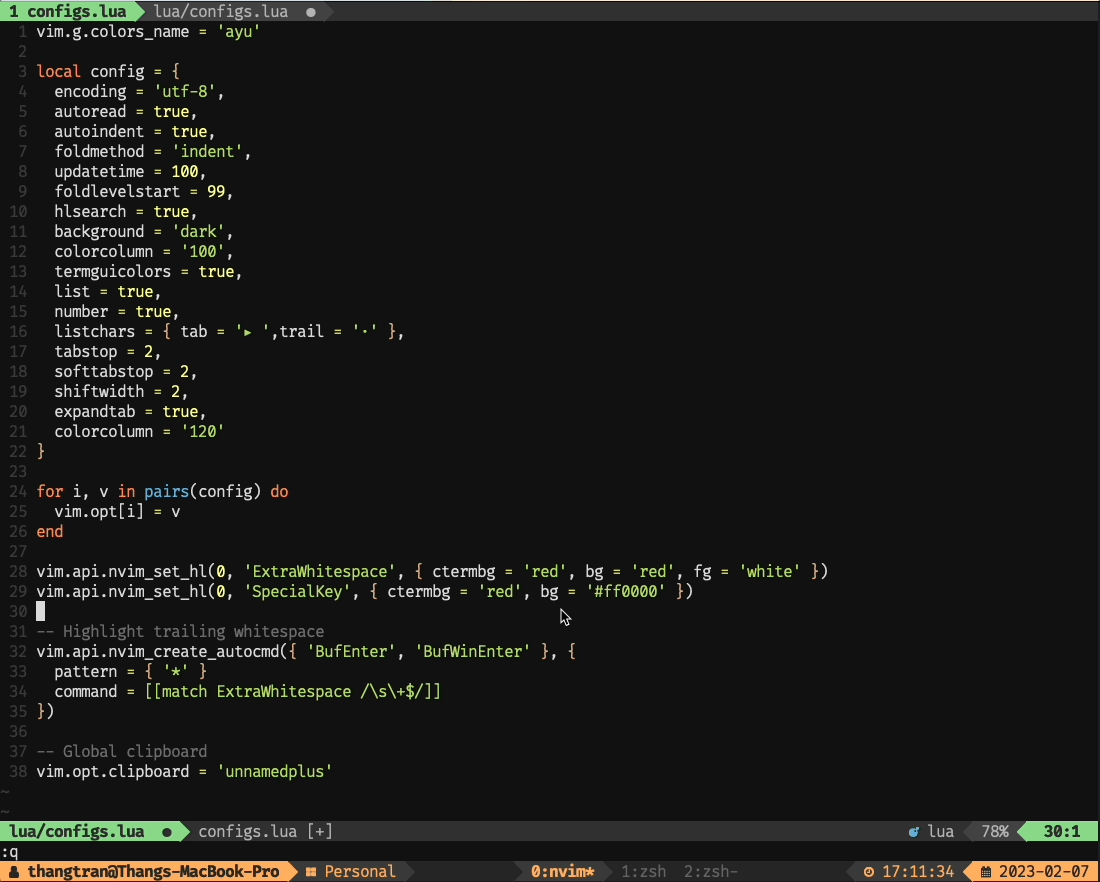
-- lua/configs.lua

local config = {
  encoding = 'utf-8',
  autoread = true,
  autoindent = true,
  foldmethod = 'indent',
  updatetime = 100,
  foldlevelstart = 99,
  hlsearch = true,
  background = 'dark',
  colorcolumn = '100',
  termguicolors = true,
  list = true,
  number = true,
  listchars = { tab = '▸ ',trail = '·' },
  tabstop = 2,
  softtabstop = 2,
  shiftwidth = 2,
  expandtab = true,
  colorcolumn = '120'
}

for i, v in pairs(config) do
  vim.opt[i] = v
end
Thêm 1 số config mà tui thấy là cần thiết:
vim.api.nvim_set_hl(0, 'ExtraWhitespace', { ctermbg = 'red', bg = 'red', fg = 'white' })
vim.api.nvim_set_hl(0, 'SpecialKey', { ctermbg = 'red', bg = '#ff0000' })

-- Highlight trailing whitespace
vim.api.nvim_create_autocmd({ 'BufEnter', 'BufWinEnter' }, {
  pattern = { '*' },
  command = [[match ExtraWhitespace /\s\+$/]]
})
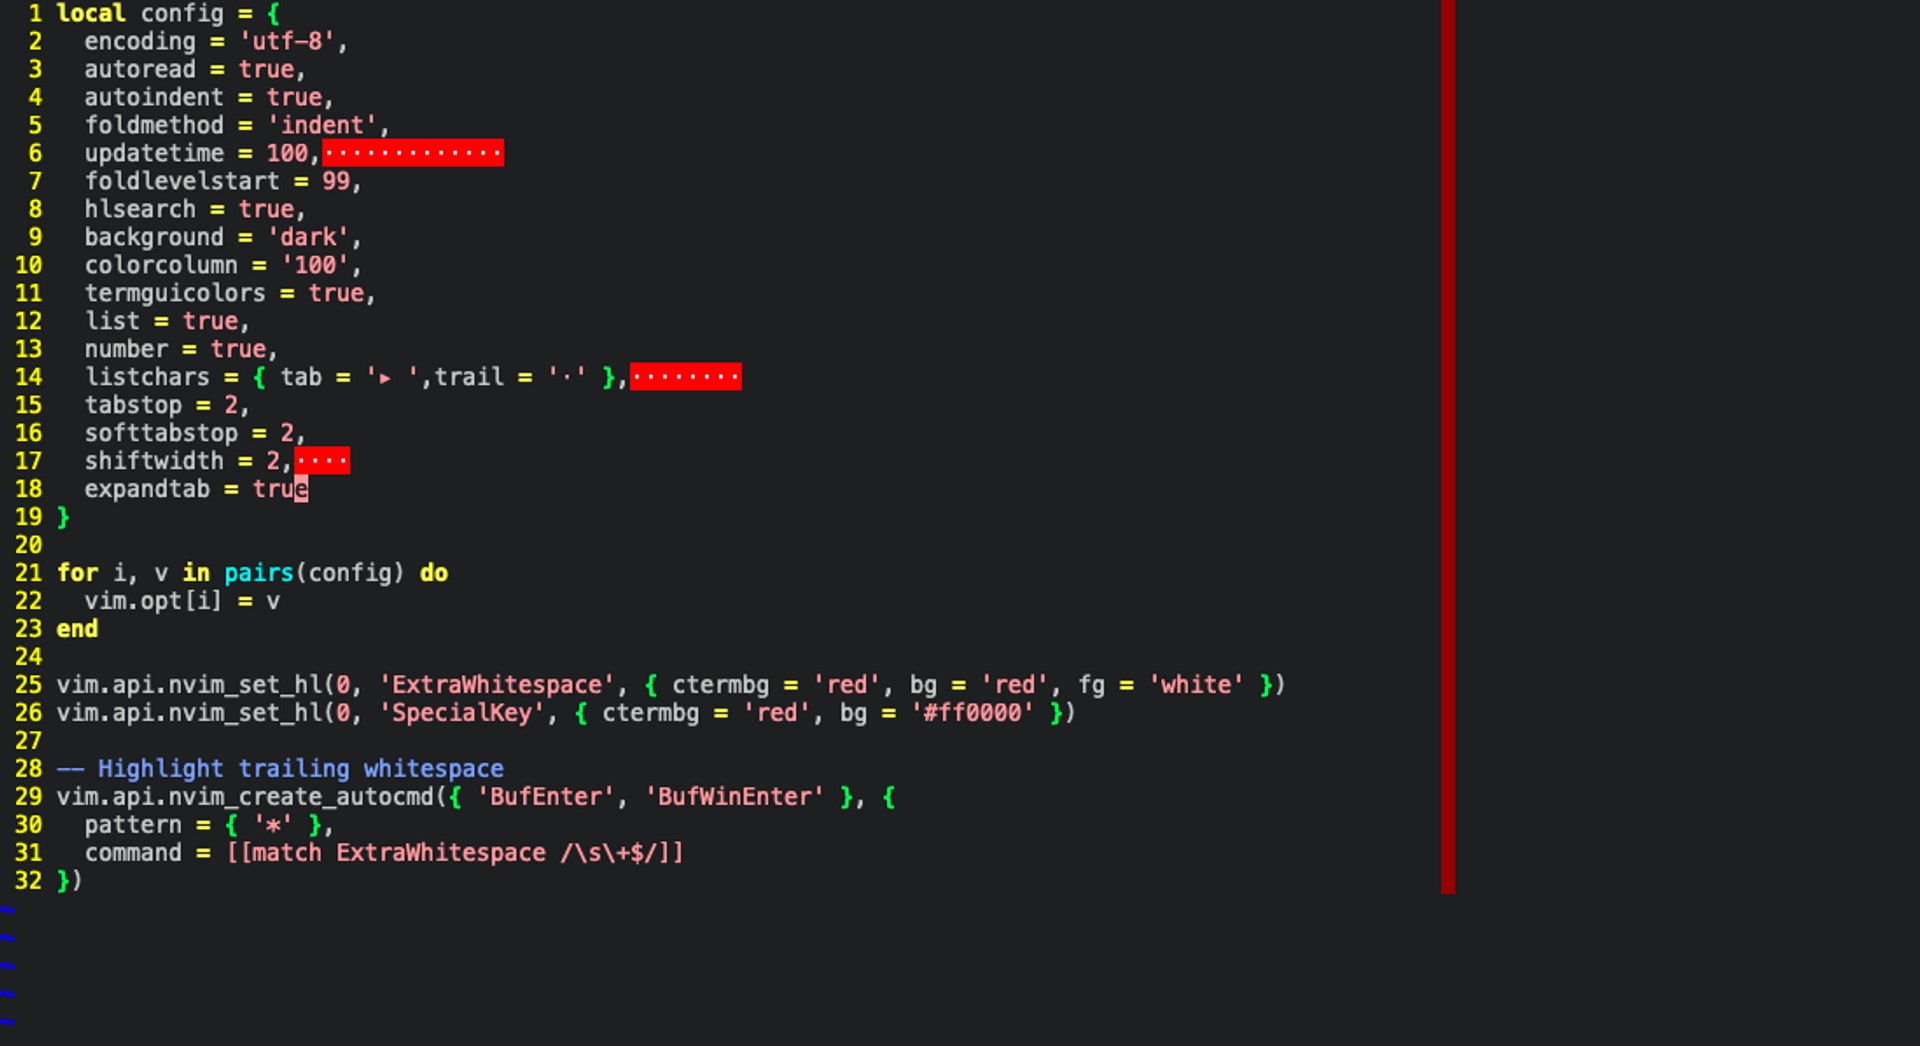
Config này giúp chúng ta nhìn thấy các khoảng trống thừa để mình có thể kịp thời dọn dẹp. Cái cột đỏ kia cũng không phải là lỗi mà chính là 1 thứ gọi là colorcolumn sinh ra với mục đính cho ta đừng có mà code vượt cái cột đó. Tôi sẽ style nó sau
Tiếp đó là Global clipboard. Sẽ giúp bạn sync clipboard giữa neovim và OS.
-- Global clipboard
vim.opt.clipboard = 'unnamedplus'
Hướng dẫn sử dụng và tuỳ biến Neovim
Trong neovim thì có nhiều Modes cơ mà tôi dùng chủ yếu 3 mode: Normal mode, Visual mode và Insert mode. Các mode khác bạn có thể đọc ở đây
Với normal mode thì chủ yếu mình sẽ thao tác với commands. Lướt xem content là chủ yếu. Gõ i để chuyển sang Insert mode là mode mà bạn có thể edit được. Còn nhấn v từ Normal mode để chuyển sang Visual mode - bạn sẽ select được content từ mode này. Đơn giản là vậy còn chắc chắn bạn sẽ phải nắm được một số hotkey cơ bản của vim/neovim để có thể dễ dàng sử dụng và mapping sau này. Bạn có thể xem cheatsheet ở đây:
Việc đầu tiên khi tui setup Neovim đó là chọn theme cho em nó.
Tui hay dùng ayu :
-- lua/plugins.lua

packer.startup(function(use)
  -- Plugins go here
  use "ayu-theme/ayu-vim"
end)
Install plugin bằng cách gõ: :PackerInstall
Sau đó edit file lua/configs.lua:
vim.g.colors_name = 'ayu'
Đẹp hơn rồi đúng không 😀
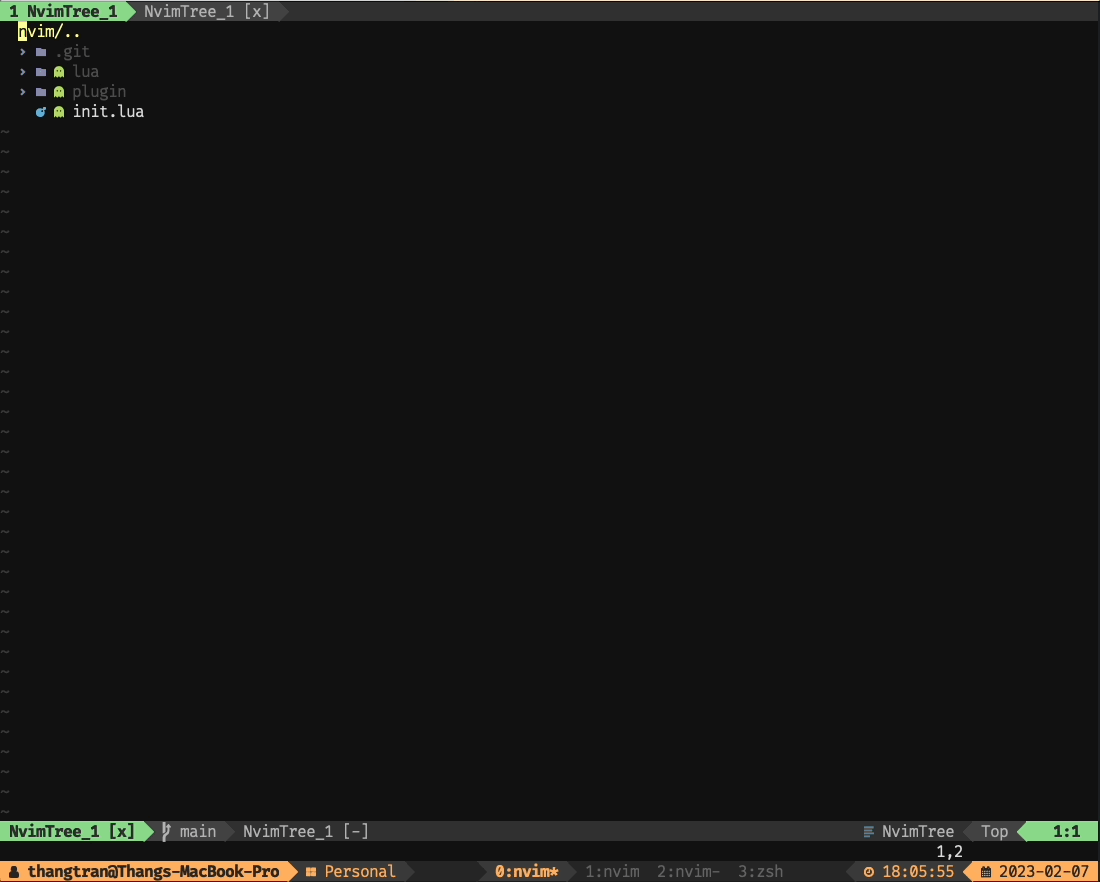
File explorer
-- lua/plugins.lua
-- File explorer
use "kyazdani42/nvim-web-devicons"
use {
  "kyazdani42/nvim-tree.lua",
  requires = {
    'nvim-tree/nvim-web-devicons', -- optional, for file icons
  },
  tag = 'nightly'
}
-- plugin/tree.lua
-- disable netrw at the very start of your init.lua (strongly advised)
vim.g.loaded_netrw = 1
vim.g.loaded_netrwPlugin = 1
-- set termguicolors to enable highlight groups
vim.opt.termguicolors = true
require("nvim-tree").setup {
ignore_buffer_on_setup = true,
filters = {
custom = { ".cs.meta$" }
},
diagnostics = {
enable = true,
show_on_dirs = true,
debounce_delay = 50,
icons = {
hint = "",
info = "",
warning = "",
error = "",
}
},
renderer = {
root_folder_modifier = ":t",
icons = {
glyphs = {
default = "",
symlink = "",
folder = {
arrow_open = "",
arrow_closed = "",
default = "",
open = "",
empty = "",
empty_open = "",
symlink = "",
symlink_open = "",
},
git = {
unstaged = "",
staged = "",
unmerged = "",
renamed = "➜",
untracked = "U",
deleted = "",
ignored = "◌",
},
},
},
}
}
-- lua/mappings.lua

-- File explorer shortcuts
-- Toogle with space + \
keymap.set('', '<leader>\\', ':NvimTreeToggle<CR>')
Sau khi chạy ParkerInstall và khởi động lại. Kết quả ta sẽ được
Tabs & Panes
-- lua/mappings.lua

-- Tabpane shortcuts
-- New Tab
keymap.set('', '<leader>tn', ':tabnew<CR>')

-- Quick navigate to specific tab
keymap.set('n', '<leader>1', '1gt')
keymap.set('n', '<leader>2', '2gt')
keymap.set('n', '<leader>3', '3gt')
keymap.set('n', '<leader>4', '4gt')
keymap.set('n', '<leader>5', '5gt')
keymap.set('n', '<leader>6', '6gt')
keymap.set('n', '<leader>7', '7gt')
keymap.set('n', '<leader>8', '8gt')
keymap.set('n', '<leader>9', '9gt')
keymap.set('n', '<leader>0', ':tablast<CR>')

-- Jump between panes
keymap.set('', '<leader><up>', '<C-w><up>')
keymap.set('', '<leader><down>', '<C-w><down>')
keymap.set('', '<leader><left>', '<C-w><left>')
keymap.set('', '<leader><right>', '<C-w><right>')

-- Shrink view
keymap.set('', '+', ':vertical resize +5<CR>')
keymap.set('', '_', ':vertical resize -5<CR>')
keymap.set('', '}', ':horizontal resize +5<CR>')
keymap.set('', '{', ':horizontal resize -5<CR>')

-- Quick moves
keymap.set('', '<S-j>', '5j')
keymap.set('', '<S-k>', '5k')
keymap.set('', '<S-h>', 'b')
keymap.set('', '<S-l>', 'w')
Custom tabline tôi dùng lualine:
-- lua/plugins.lua

use {
  'nvim-lualine/lualine.nvim',
  requires = { 'kyazdani42/nvim-web-devicons', opt = true }
}
-- plugin/lualine.lua

require('lualine').setup({
  options = {
    theme = 'onedark'
  },
  sections = {
    lualine_a = {
      {
        'filename',
        file_status = true,
        path = 1,

        symbols = {
          modified = ' ●',
          readonly = '[x]',
          unnamed = '[No Name]',
          newfile = '[New]',
        }
      },
    },
    lualine_x = {'filetype'}
  },
  tabline = {
    lualine_a = {
      {
        'tabs',
        mode = 2,
     }
    },
    lualine_b = {
      {
        'filename',
        file_status = true,
        path = 1,
        symbols = {
          modified = ' ●',
          readonly = '[x]',
          unnamed = '[No Name]',
          newfile = '[New]',
        }
      },
    },
  }
})
Bạn có thể đổi tên tab bằng :LualineRenameTab
Finder
Finder tôi tôi sử dụng telescope. Giúp mình search file. search text, file history,… dễ dàng hơn.
Đề support fuzzy search tốt hơn bạn nên cài thêm fzf: https://github.com/junegunn/fzf
-- lua/plugins.lua

use {
  'nvim-telescope/telescope.nvim',
  requires = {
    'nvim-lua/plenary.nvim',
    { 'nvim-telescope/telescope-fzf-native.nvim', run = 'make' },
  }
}
-- plugin/telescope.lua

require('telescope').setup({
  defaults = {
    file_ignore_patterns = {
      "yarn.lock"
    },
    live_grep_args = {
      file_ignore_patterns = { "yarn.lock" }
    }
  },
  extentions = {
    fzf = {
      case_mode = 'smart_case',
      fuzzy = true,
    }
  }
})

-- Support fuzzy search
require('telescope').load_extension('fzf')
-- lua/mappings.lua

-- Telescope
local builtin = require('telescope.builtin')

keymap.set('', '<leader>ff', builtin.find_files, {})
keymap.set('', '<leader>gf', builtin.git_files, {})
keymap.set('', '<leader>rg', ':Telescope grep_string search="" only_sort_text=true<CR>', {})
keymap.set('', '<leader>hh', ':Telescope oldfiles<CR>', {})
Language Server Protocol
Trước kia mỗi language có thể sẽ phải phụ thuộc vào 1 IDE nào đó (Như python với pycharm) hoặc 1 plugin nào đó để handle language features. Vì vậy khi chuyển sang 1 ngôn ngữ mới, rất khó để editor có thể support tốt ngay lập tức. Các IDE hiện đại như VSCode, Atom, Sublime text,… được mọi người ưa chuộng vì những gì nó mang lại như: Code completion, Go to defination, find references, hover,… một phần nhờ LSP
Trước đây khi Neovim chưa có built-in LSP chúng ta phải dùng qua các Client Plugins như coc.nvim nên perfomance sẽ kém hơn, việc cấu hình cũng phức tạp hơn.
Basic Setup
-- lua/plugins.lua
-- LSP Base
-- Configs for Nvim LSP Client
use { 'neovim/nvim-lspconfig' }
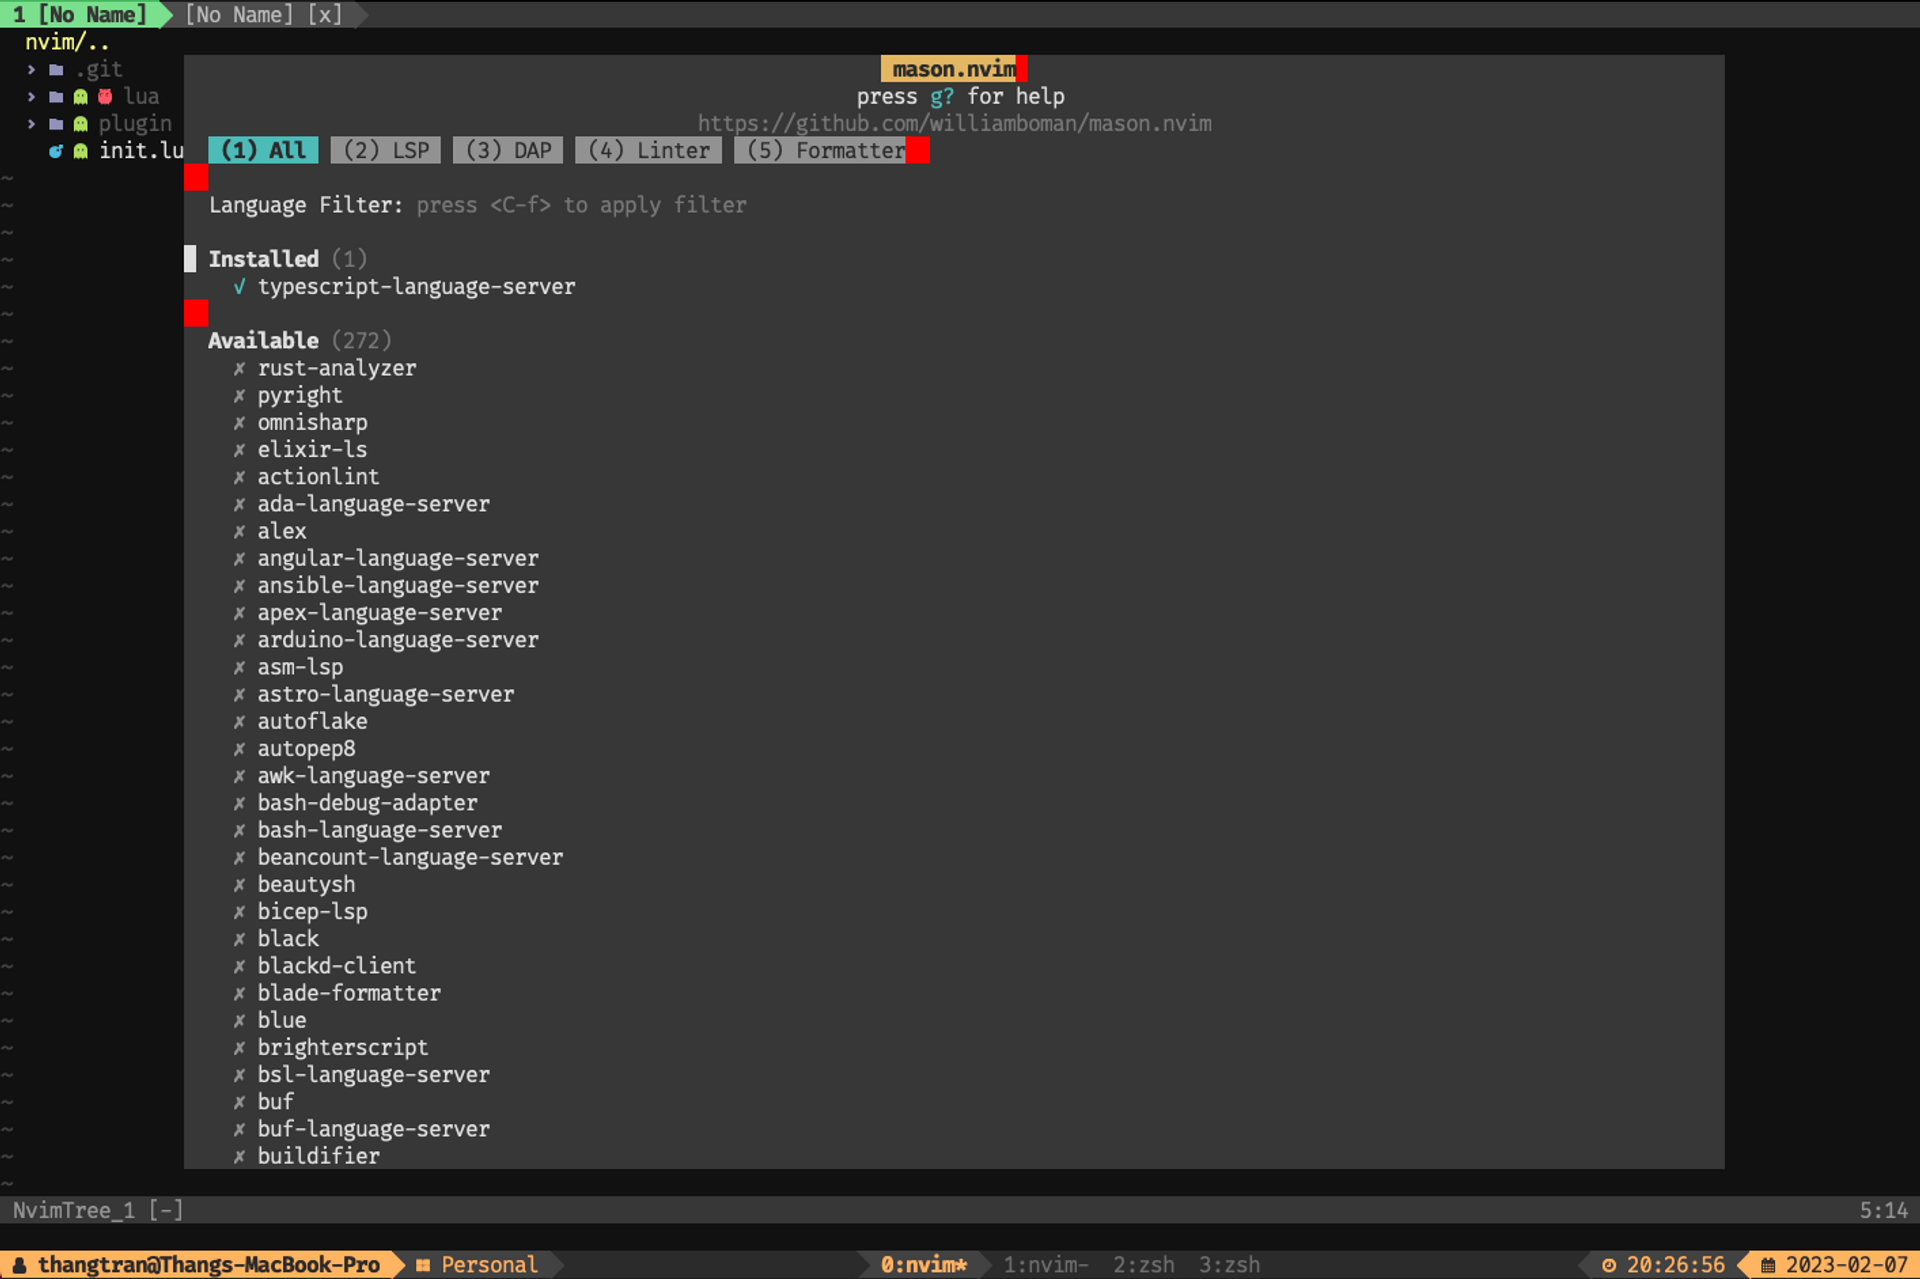
-- Easily install and manage LSP servers, DAP servers, linters, and formatters
use { 'williamboman/mason.nvim' }
-- Bridges mason.nvim with the lspconfig
use { 'williamboman/mason-lspconfig.nvim' }
-- Treesitter: Syntax highlighting
use { "windwp/nvim-ts-autotag" }
use { "windwp/nvim-autopairs" }
use { "nvim-treesitter/nvim-treesitter", run = ":TSUpdate" }
use { 'b3nj5m1n/kommentary' } -- Comment blocks of code
-- plugin/mason.lua

require("mason").setup({
  ui = {
    icons = {
      package_installed = "✓",
      package_pending = "➜",
      package_uninstalled = "✗"
    }
  }
})

require("mason-lspconfig").setup()
Rồi sau khi install các packages trên. Ta test thử với Typescript language server:
:MasonInstall typescript-language-server
-- plugin/language_server.lsp

local nvim_lsp = require('lspconfig')
local capabilities = vim.lsp.protocol.make_client_capabilities()

local on_attach = function(client, bufnr)
end

nvim_lsp.tsserver.setup({
  capabilities = capabilities,
  on_attach = on_attach,
  filetypes = { "typescript", "typescriptreact", "typescript.tsx" },
  cmd = { "typescript-language-server", "--stdio" }
})
-- plugin/treesitter.lua

require("nvim-autopairs").setup();
require("nvim-ts-autotag").setup();

require'nvim-treesitter.configs'.setup {
  ensure_installed = {"elixir", "heex", "eex", "typescript", "tsx", "go", "gomod", "lua", "vim"},
  highlight = {
    enable = true
  },
  autopairs = {
    enable = true
  },
  -- Need to run: TSInstall tsx, html
  autotag = {
    enable = true,
    filetypes = { 'html', 'xml', 'tsx', 'jsx', 'typescriptreact', 'ex', 'exs' }
  },
    indent = {
        enable = true,
    },
}
Cài syntax highlight cho typescript: :TSInstall typescript tsx. Sau đó test với file .ts
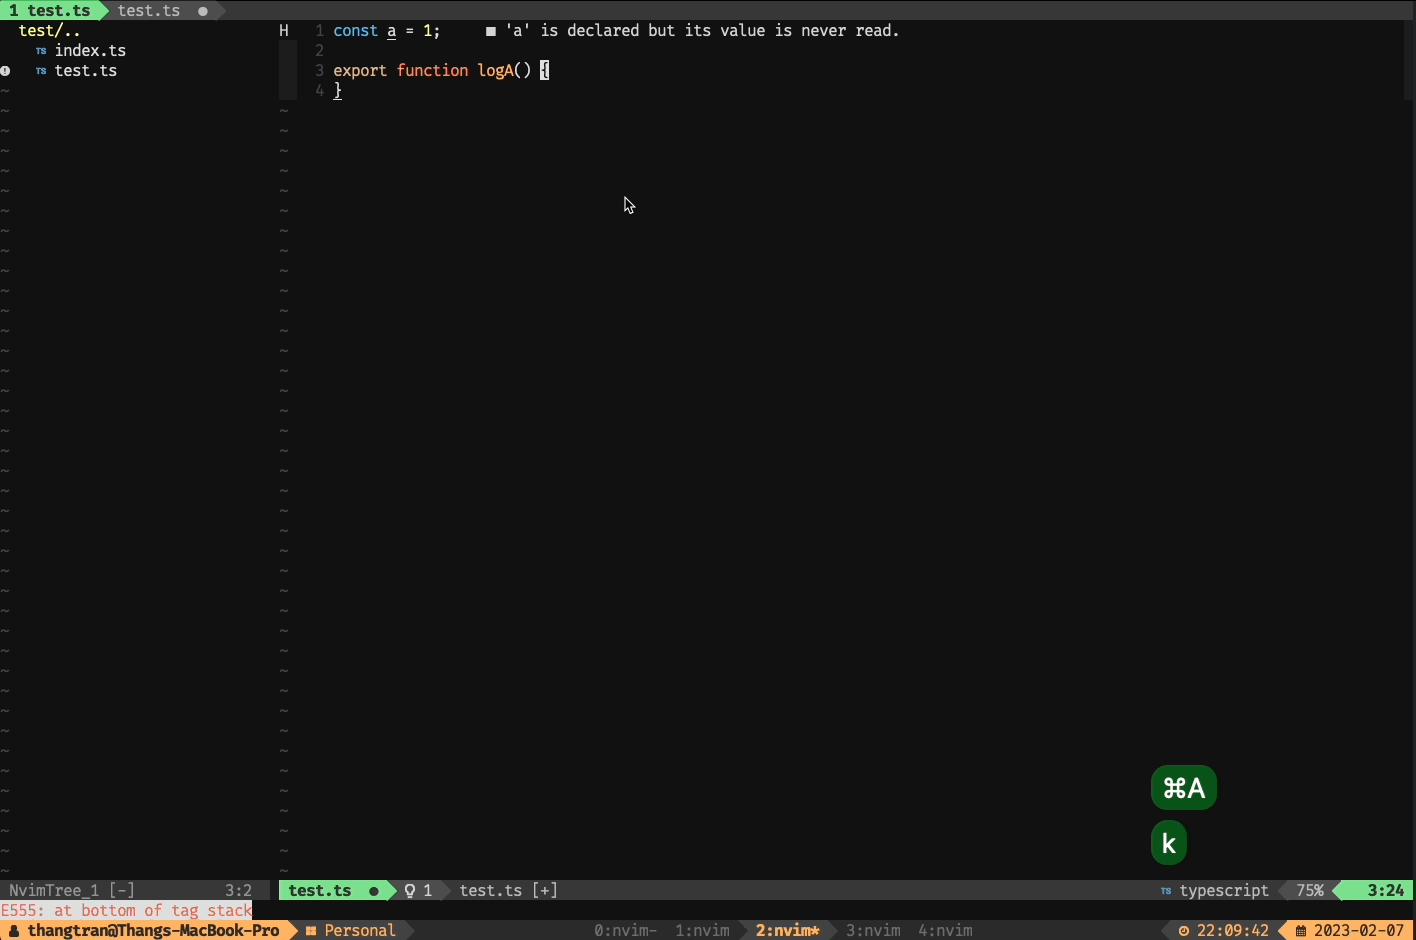
Tsserver đã hoạt động nhưng vẫn thiếu autocompletion và goto defination, hover.:
-- lua/plugins.lua

-- Autocompletion
use { "hrsh7th/nvim-cmp" }
use { "hrsh7th/cmp-nvim-lsp" }
use { "hrsh7th/cmp-path" }
use { "hrsh7th/cmp-buffer" }
use { "hrsh7th/cmp-cmdline" }
use { "hrsh7th/cmp-vsnip" }
use { "hrsh7th/vim-vsnip" }
use { "onsails/lspkind-nvim" }

-- Formatting, linting
use { "jose-elias-alvarez/null-ls.nvim" }
-- plugin/cmp.lua

local cmp = require('cmp')

cmp.setup({
  snippet = {
    expand = function(args)
      vim.fn["vsnip#anonymous"](args.body)
    end,
  },
  window = {
    completion = cmp.config.window.bordered(),
    documentation = cmp.config.window.bordered(),
  },
  mapping = cmp.mapping.preset.insert({
    ['<C-b>'] = cmp.mapping.scroll_docs(-4),
    ['<C-f>'] = cmp.mapping.scroll_docs(4),
    ['<C-Space>'] = cmp.mapping.complete(),
    ['<C-e>'] = cmp.mapping.abort(),
    ['<CR>'] = cmp.mapping.confirm({ select = true }), -- Accept currently selected item. Set `select` to `false` to only confirm explicitly selected items.
    ["<S-Tab>"] = cmp.mapping.select_prev_item(),
    ["<Tab>"] = cmp.mapping({
      i = function(fallback)
        if cmp.visible() then
          cmp.select_next_item()
        elseif vim.fn["vsnip#available"](1) then
          -- vim.fn.feedkeys(t('<Plug>(vsnip-expand-or-jump)', ''))
          fallback()
        end
      end
    })
  }),
  sources = cmp.config.sources({
    { name = 'nvim_lsp' },
    { name = 'vsnip' }, -- For vsnip users.
    { name = 'buffer' },
  }),
})

-- Set configuration for specific filetype.
cmp.setup.filetype('gitcommit', {
  sources = cmp.config.sources({
    { name = 'cmp_git' }, -- You can specify the `cmp_git` source if you were installed it.
  }, {
    { name = 'buffer' },
  })
})

-- Use buffer source for `/` and `?` (if you enabled `native_menu`, this won't work anymore).
cmp.setup.cmdline({ '/', '?' }, {
  mapping = cmp.mapping.preset.cmdline(),
  sources = {
    { name = 'buffer' }
  }
})

-- Use cmdline & path source for ':' (if you enabled `native_menu`, this won't work anymore).
cmp.setup.cmdline(':', {
  mapping = cmp.mapping.preset.cmdline(),
  sources = cmp.config.sources({
    { name = 'path' }
  }, {
    { name = 'cmdline' }
  })
})

local lspkind = require('lspkind')
cmp.setup({
  formatting = {
    format = lspkind.cmp_format({
      mode = 'text_symbol', -- show only symbol annotations
      maxwidth = 50, -- prevent the popup from showing more than provided characters (e.g 50 will not show more than 50 characters)
      ellipsis_char = '...', -- when popup menu exceed maxwidth, the truncated part would show ellipsis_char instead (must define maxwidth first)

      -- The function below will be called before any actual modifications from lspkind
      -- so that you can provide more controls on popup customization. (See [#30](https://github.com/onsails/lspkind-nvim/pull/30))
      before = function (entry, vim_item)
        vim_item.menu = ({
          luasnip = '[SNIP]',
          path = '[PATH]',
          buffer = '[BUF]',
          calc = '[CALC]',
          nuspell = '[SPELL]',
          spell = '[SPELL]',
          emoji = '[EMOJI]',
          -- treesitter = '[TS]',
          nvim_lsp = '[LSP]',
          -- cmp_tabnine = '[TN]',
          latex_symbols = '[TEX]',
          -- tmux = '[TMUX]',
          -- conjure = '[CJ]',
          orgmode = '[ORG]'
        })[entry.source.name]

        return vim_item
      end
    })
  }
})
-- plugin/null_ls.lua

local null_ls = require("null-ls")

null_ls.setup({
  sources = {
    null_ls.builtins.diagnostics.eslint,
    null_ls.builtins.code_actions.eslint,
  }
})
-- plugin/language_server.lua

local capabilities = vim.lsp.protocol.make_client_capabilities()
capabilities = require('cmp_nvim_lsp').default_capabilities(capabilities)
-- lua/maps.lua

-- Show all diagnostics on current line in floating window
keymap.set('n', '<leader>e', ':lua vim.diagnostic.open_float()<CR>', opts)
keymap.set('n', '<leader>r', ':lua vim.lsp.buf.code_action()<CR>', opts)
-- Go to next diagnostic (if there are multiple on the same line, only shows
-- one at a time in the floating window)
keymap.set('n', '<leader>n', ':lua vim.diagnostic.goto_next()<CR>', opts)
-- Go to prev diagnostic (if there are multiple on the same line, only shows
-- one at a time in the floating window)
keymap.set('n', '<leader>p', ':lua vim.diagnostic.goto_prev()<CR>', opts)
-- Hover
keymap.set('', '<leader>/', vim.lsp.buf.hover, {}

Ngoài ra còn 1 số plugins cần thiết cho 1 editor (Thực ra là tôi cần):
use { "mg979/vim-visual-multi" } -- Multi cursor
use {
  "SmiteshP/nvim-navic",
  requires = "neovim/nvim-lspconfig"
} -- show your current code context
use { 'norcalli/nvim-colorizer.lua' } -- color highlighter
use { 'tpope/vim-fugitive' } -- Git plugins